Element Image Frames are placeholder graphic frames used within Typefi Elements and provide several options to control the fitting and placement of images. They are commonly used for inserting figures and page artwork.
Element Image Frames must be part of a Typefi Element. During the automated page composition process, an Element Image Frame is populated with the image file that is referenced within its corresponding Typefi Element.
Create an Element Image Frame
- Create an InDesign graphic frame and select it.

- Choose Object → Typefi Frame Type → Element Image. Alternatively, right-click (Windows) or Control-click (macOS) the selected frame and choose Typefi Frame Type → Element Image from the shortcut menu.
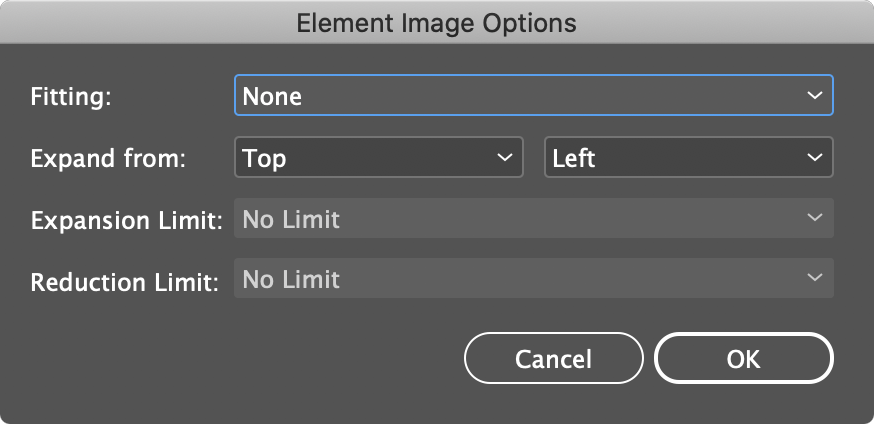
- In the Element Image Options dialog:
- Choose an option from the Fitting pop-up menu to determine how an image will be sized when it is placed into the frame during page composition. There are six options to choose from: None, Fit Frame to Content, Fit Content to Frame, Fit Content Proportionally, Fill Frame Proportionally, or Fit Content then Frame Proportionally (see Specify the Element Image Fitting Options).
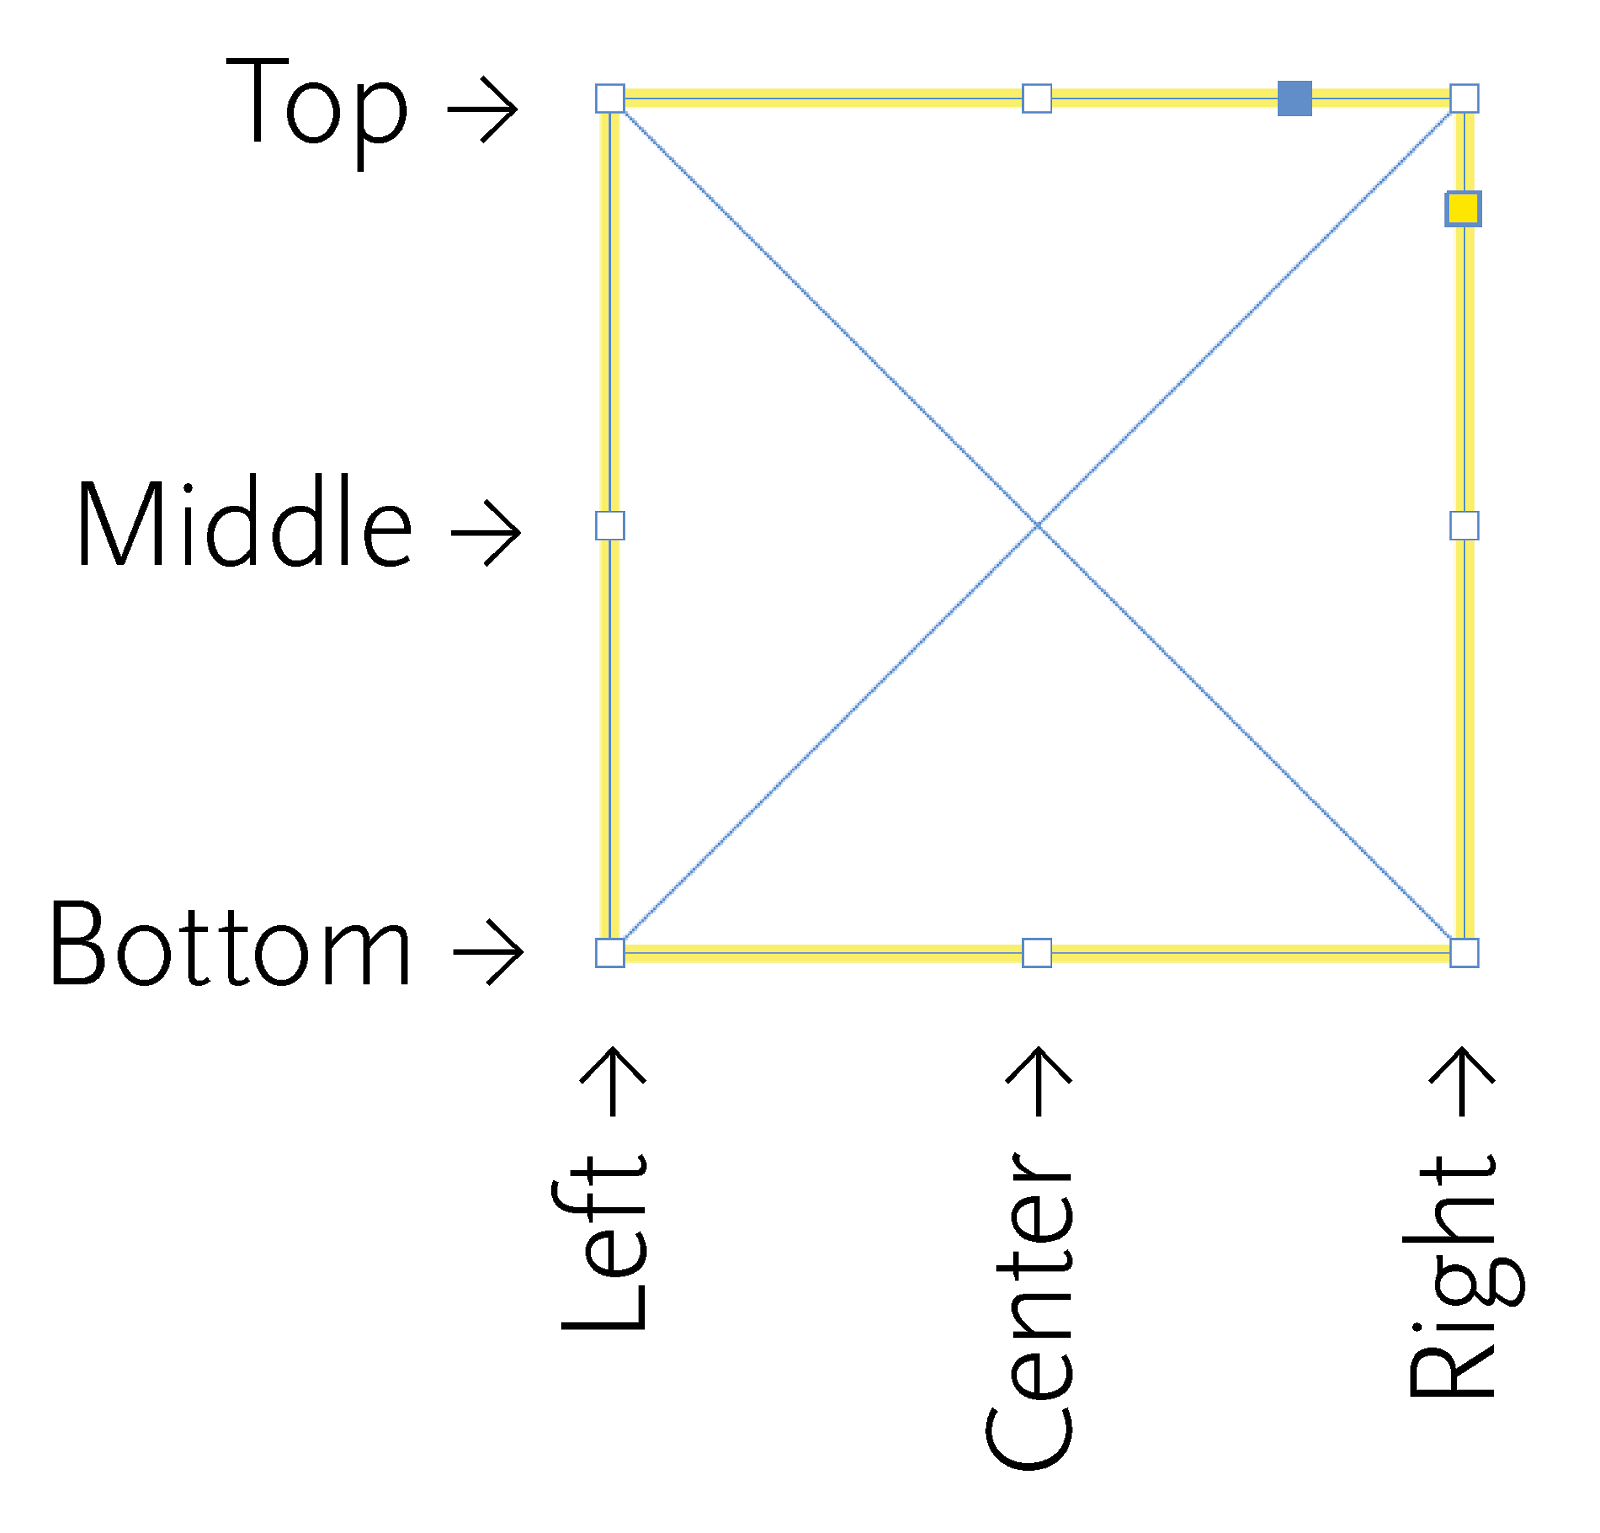
- In the Expand from pop-up menus, specify which vertical reference point (Top, Middle, or Bottom) and horizontal reference point (Left, Center, or Right) you want the image to expand from when it is placed and sized within the image frame.

Imagine the image “growing” from that point in the image frame. The origin point can be any combination of Top/Middle/Bottom and Left/Center/Right. - In the Expansion Limit pop-up menu, specify the maximum scaling percentage allowed for an image when it is sized within the image frame. The minimum value is 100%, which means the image will be placed in the frame at its original size. Select a preset expansion limit from the menu, enter a custom value, or choose No Limit to ignore this option. Ignoring this option means the image is allowed to expand as much as necessary to fill the frame.
- In the Reduction Limit pop-up menu, specify the minimum scaling percentage allowed for an image during placement in the image frame. The maximum value is 100%, which means the image will be placed in the frame at its original size. Select a preset reduction limit from the menu, enter a custom value, or choose No Limit to ignore this option. Ignoring this option means the image is allowed to shrink as much as necessary to fit in the frame.

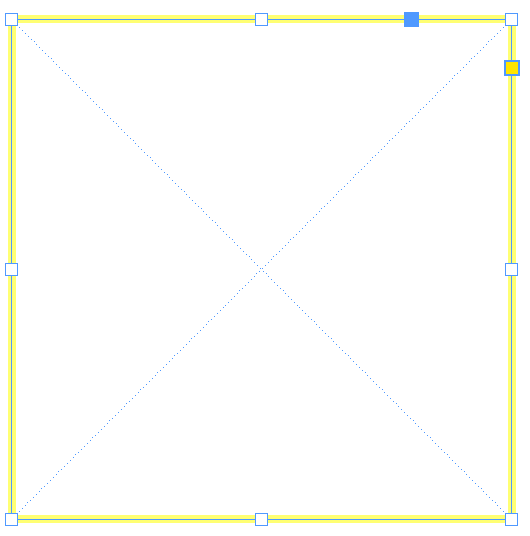
- Select OK to apply the settings. The Element Image Frame border is yellow by default.

After creating an Element Image Frame, you must apply a Typefi Element to it, or to the group in which the frame is placed. Applying a Typefi Element to your Element Image Frame defines which image will be placed within the frame during the page composition process.
Edit an Element Image Frame
- Select an Element Image Frame.
- Choose Object → Typefi Frame Options. Alternatively, right-click (Windows) or Control-click (macOS) the selected frame and choose Typefi Frame Options from the shortcut menu.
- In the Element Image Options dialog, change the settings as needed. (See Specify the Element Image Fitting Options for a description of each Fitting option.)

Comments
0 comments
Please sign in to leave a comment.