The Merge DOCXs workflow action combines the content from several Microsoft Word documents (DOCX) into a single Content XML file (CXML). CXML is the data format used by Typefi to encode content.
Merge DOCXs works like this:
- Transform each DOCX input file to a corresponding CXML file.
- Merge the CXML files into one.
Merge DOCXs is divided into four tabs: General, Links, Indexing, and Advanced.
You can also use workflow variables to specify input fields. To insert a workflow variable, click the lightning bolt icon ![]() and choose a variable from the pop-up menu.
and choose a variable from the pop-up menu.
General
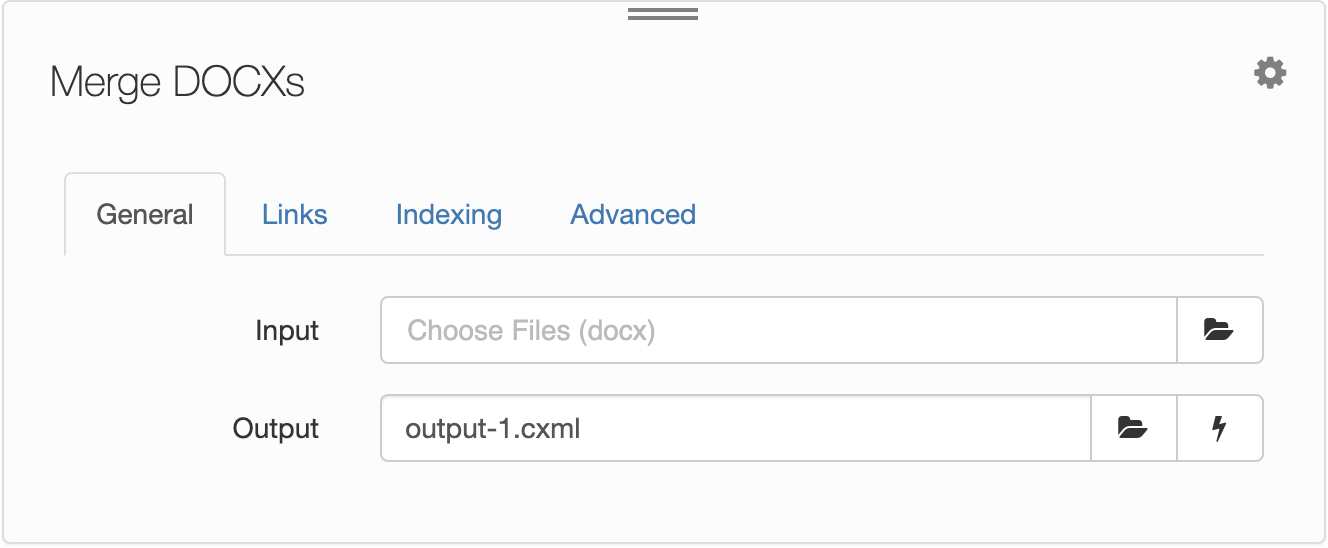
Use this tab to specify the input and output files.

| Field | Description |
|---|---|
| Input | The input DOCX files. Click the Choose File icon |
| Output | The consolidated output Content XML file. Enter a name, or click Choose File The default output name is output-1.cxml. |
Links
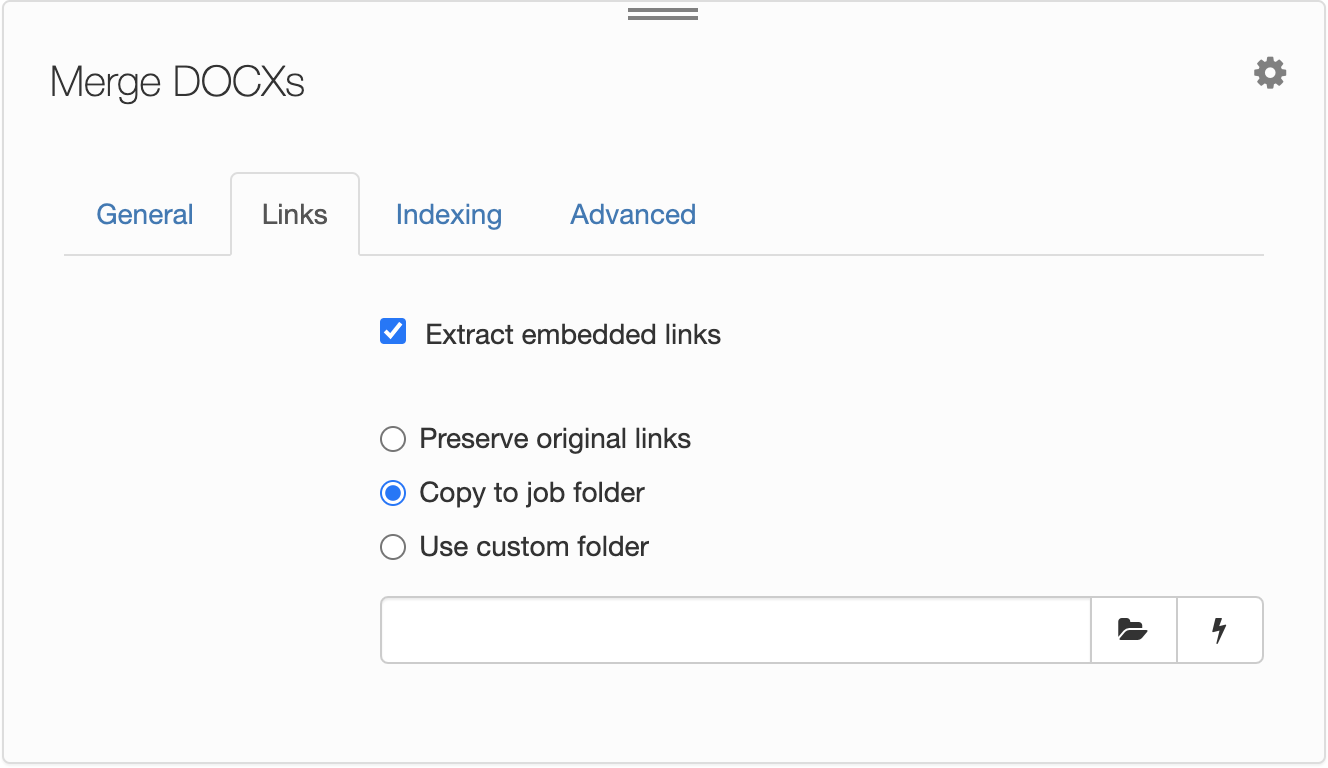
Use this tab to choose whether to extract embedded links and configure the path to the links.

| Field | Description |
|---|---|
| Extract embedded links | If selected, any embedded inline graphics in the Word document will be extracted into either a custom folder you specify or the Links folder inside the job folder. Using embedded inline graphics gives little control over how images are placed in a generated InDesign document. Extract embedded links is selected by default. Extract embedded links does not impact how the image path is configured. |
| Preserve original links, Copy to job folder, or Use custom folder |
Choose how to manage links. Options include:
|
| Custom folder | If you chose Use custom folder, enter the path to the custom folder where images are stored; for example, /my-custom-folder. |
Indexing
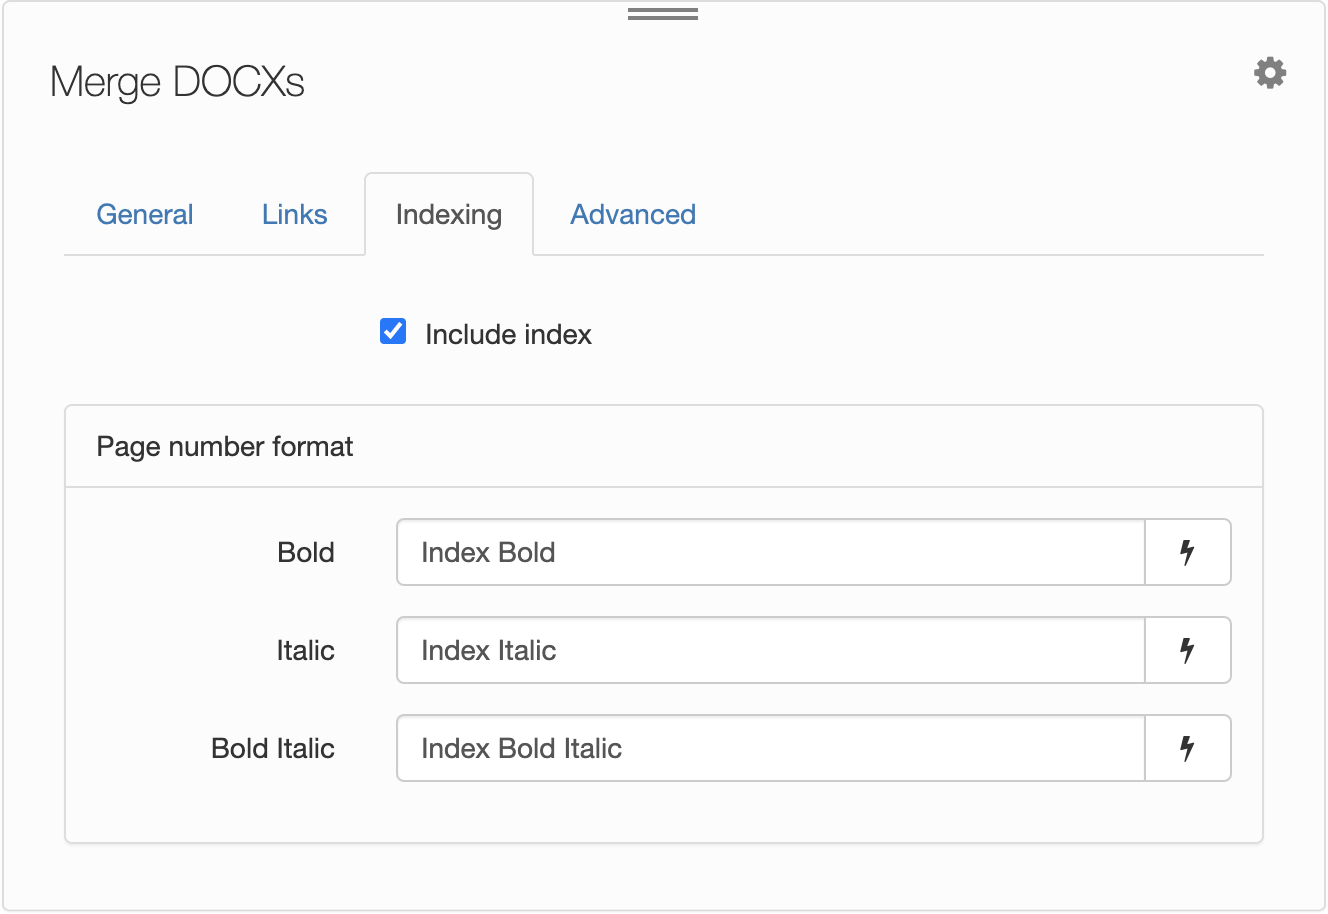
Use this tab to choose to include an index and specify the page number format. Formatting the page numbers in an index makes it easier to read:
A complicated index can sometimes be made easier to read by using different type styles or fonts...Page references to illustrations might be in italic type and references to the principal treatment of a subject in boldface.
—Chicago Manual of Style, 16th Edition, paragraph 16.140
Microsoft Word index page numbers can appear in Bold, Italic, or Bold Italic.

| Field | Description |
|---|---|
| Include index | Choose whether to convert index entry (XE) fields to CXML <index> elements.Include index is selected by default. |
| Page number format | This section contains page number formatting settings for the index. Microsoft Word index page numbers can appear in Bold, Italic or Bold Italic. The settings in this section correspond to the character styles in the Typefi-ready template file (.indd). |
| Bold | The character style to be applied when an XE field contains the /b switch. |
| Italic | The character style to be applied when an XE field contains the /i switch. |
| Bold Italic | The character style to be applied when an XE field contains both \b and \i switches. |
For more information about indexes in Microsoft Word, see Create and update an index.
Advanced
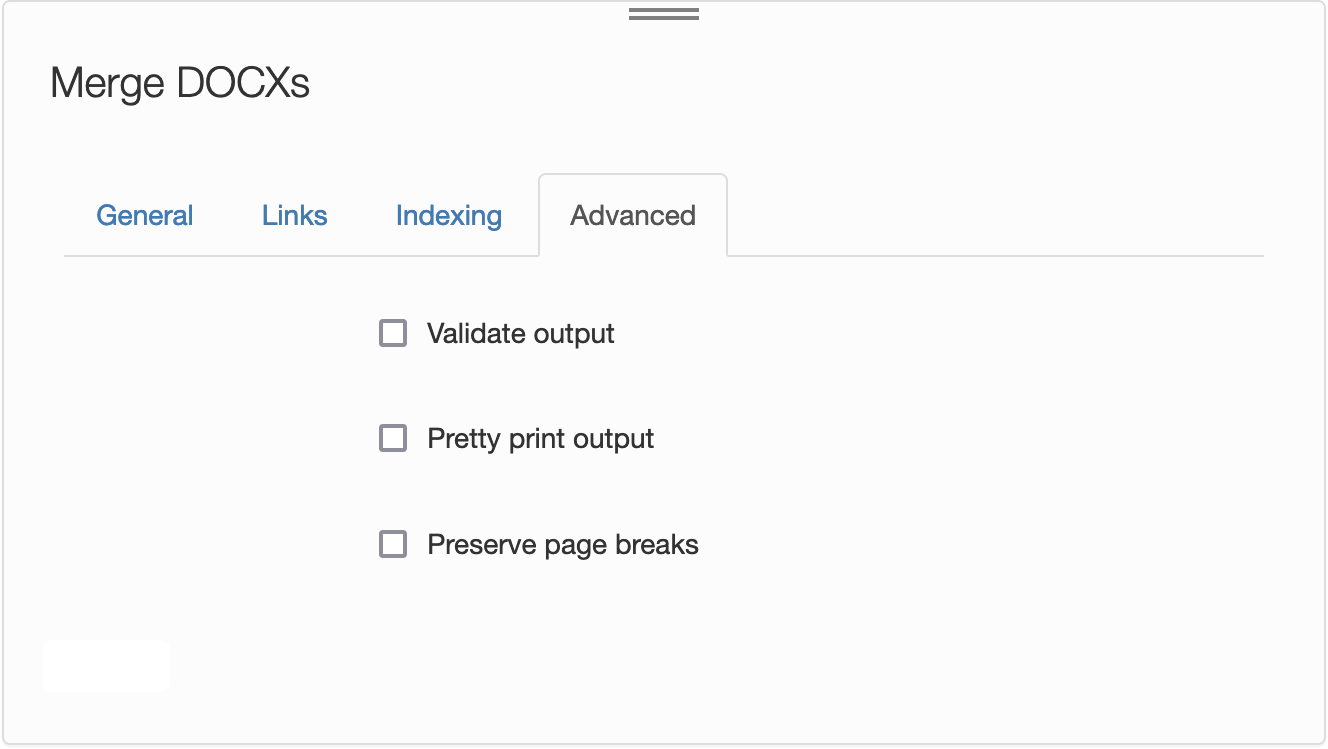
Use this tab to choose whether to validate the output and specify the white space mode.

| Field | Description |
|---|---|
| Validate output | Choose whether to validate the output CXML file. The schema version used is CXML 3.2. Validate output is deselected by default. |
| Pretty print output (formerly White space mode) | Choose whether to pretty print (format and indent) the output. |
| Preserve page breaks | Choose whether to pass through forced page and column breaks as CXML <break> elements.Include page breaks is deselected by default. |
The Microsoft Word plug-in v18 removed the White space mode pop-up menu, changed the Format and indent checkbox label to Pretty print output, and changed the Include page breaks checkbox label to Preserve page breaks.

Comments
0 comments
Please sign in to leave a comment.